
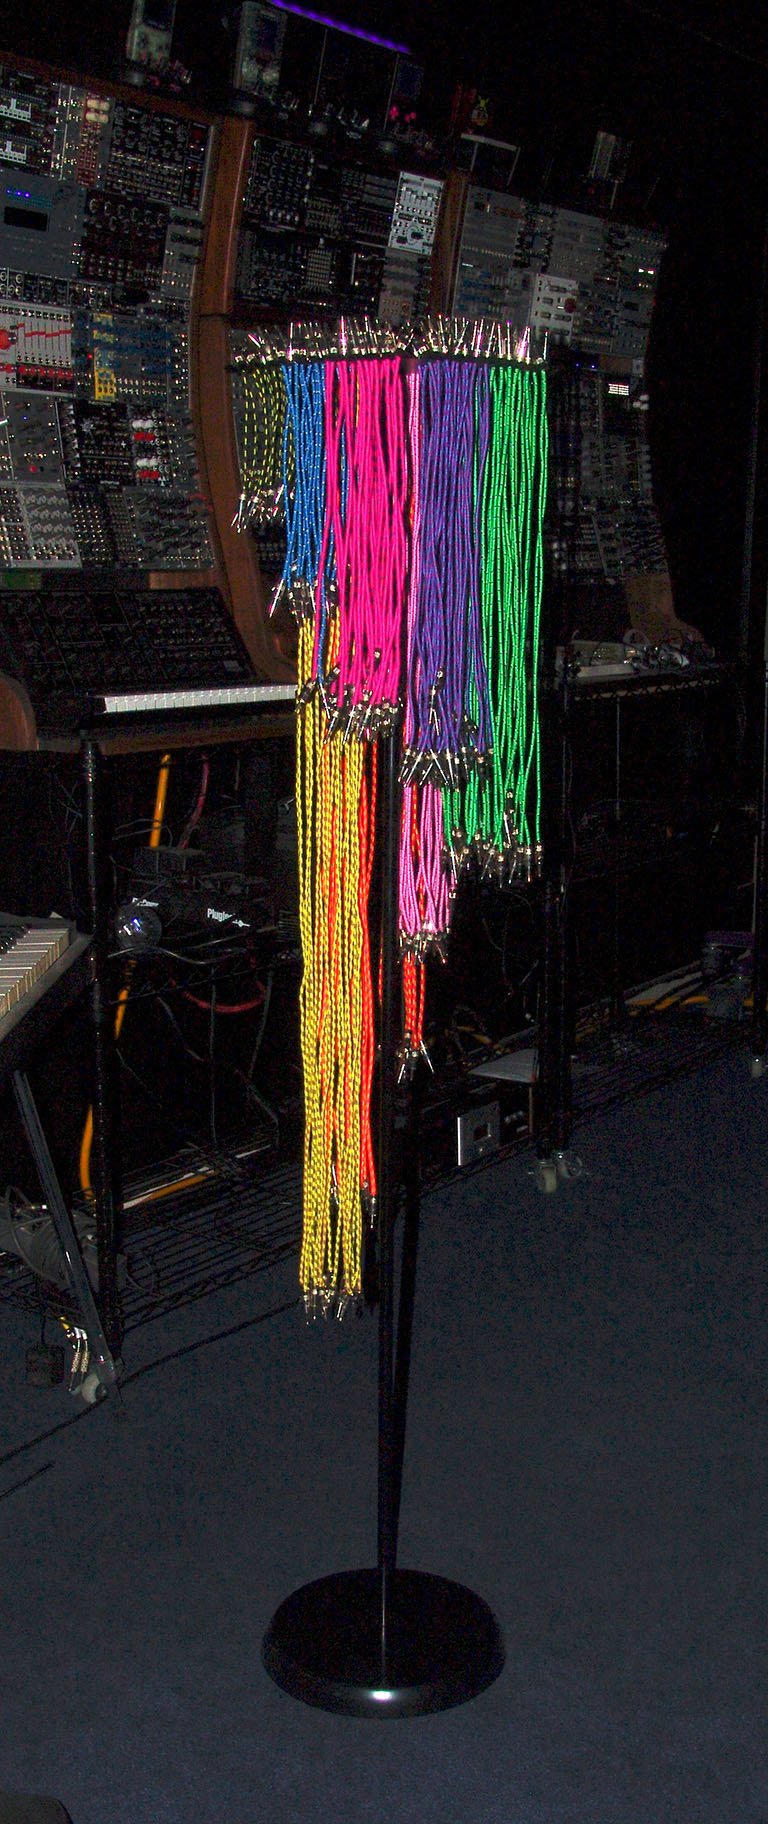
SPECS for XCS (X Cable Stand):
Adjustable height from 14 inches/35.56cm to 54 inches/137cm . (Height is adjusted by adding or removing 13 inch/33cm steel pole sections. Four poles included.)
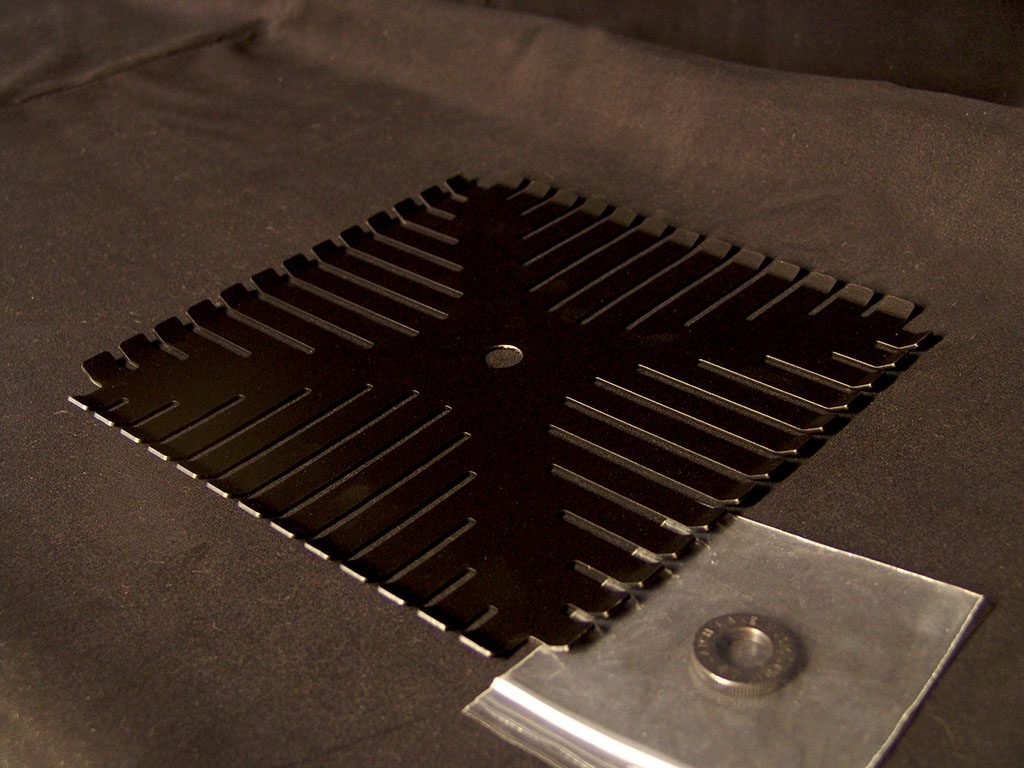
Holds +/- 260 cables, up to 52 inches/132 cm long!
Slot size is .173 inches/ 4.40mm! Please check your cable thickness before ordering! NOT DESIGNED FOR THE ‘THICK’ 5mm CABLES!
10″ inch/ 25.4 cm square pattern design makes it small enough to be portable.
Powdercoated .060 mm Aluminum plate with steel poles.
Very heavy base holds all cables properly at full capacity!
Base specs: Weight 4 lbs/1.8 KG Dimensions: 11 inches/ 28 cm wide by 1.25 inches/ 31.75mm tall.

Very portable design. Collapses down to a small profile!

Price for XCS $89.00
CON US Shipping $22.00
International Priority Shipping $70.00 (Cost is high due to the weight of the base.)
THIS IS NOT A MIC STAND!!!
SOLD OUT! Thank you for all of the support!
SPECS for XCH (X Cable Holder for mic stand):
Same product as above minus the stand. If you plan on filling this up to capacity, please use a very heavy base on your mic stand.
Includes large Knurled Jam Nut.

Price for XCH $59.00
CON US Shipping $10.00
International Priority Shipping $48.00
FYI – How are these made?
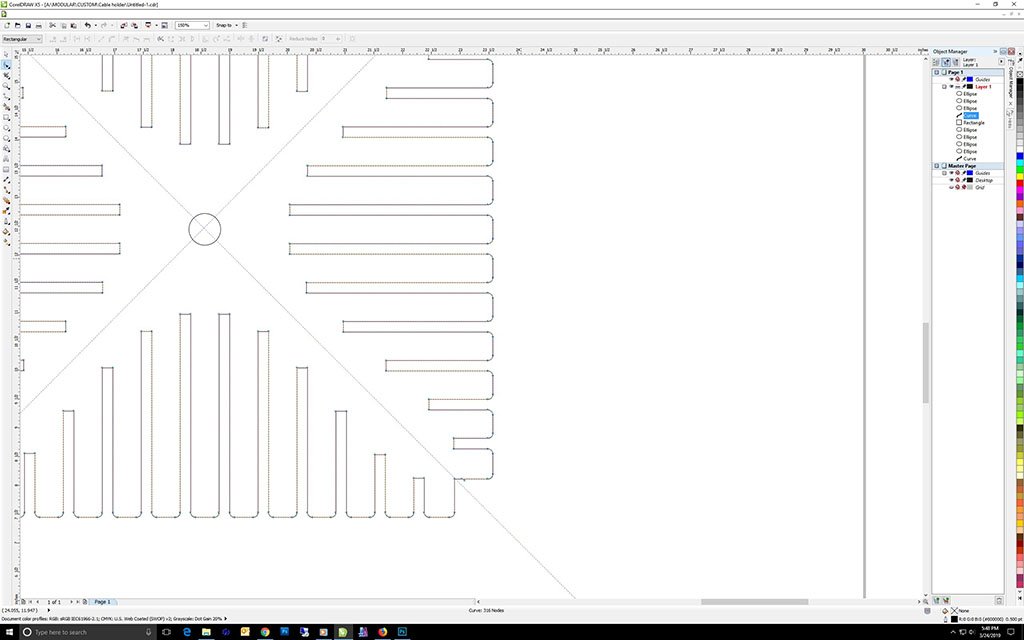
Start with the idea of the design. Plan spacing, think about the strength of the material. I used .060 Aluminum sheet. I have used and designed with .060 aluminum sheet for over 20 years. It is one of my favorite materials.

Once you have your .dxf, you can move onto creating G-code to drip feed into your CNC router. Here you can make speed changes as well as determine how you plan to layout your material for optimum usage.

Normally I like to use my larger CNC for making custom cabinets. With the large 7″ throat/Z axis I can handle materials up to 2 inches thick. Denser 2 – 10 lb foam materials are cut at those thicker dimensions. I don’t cut aluminum sheet any thicker than .125 inches.

Using the Mach 3 control program allows easy setup of your CNC machines. I use a 25 pin switch box to switch between the large and small CNC routers. The smaller CNC machine has tighter tolerances, so that is the machine I use to make all of my custom eurorack panels.

After cutting I glass bead blast the whole surface. This prepares the surface for powder coat and helps to remove any rough edges.

After the first round of blasting is done I move to the manual press brake and ‘brake’ the edges.

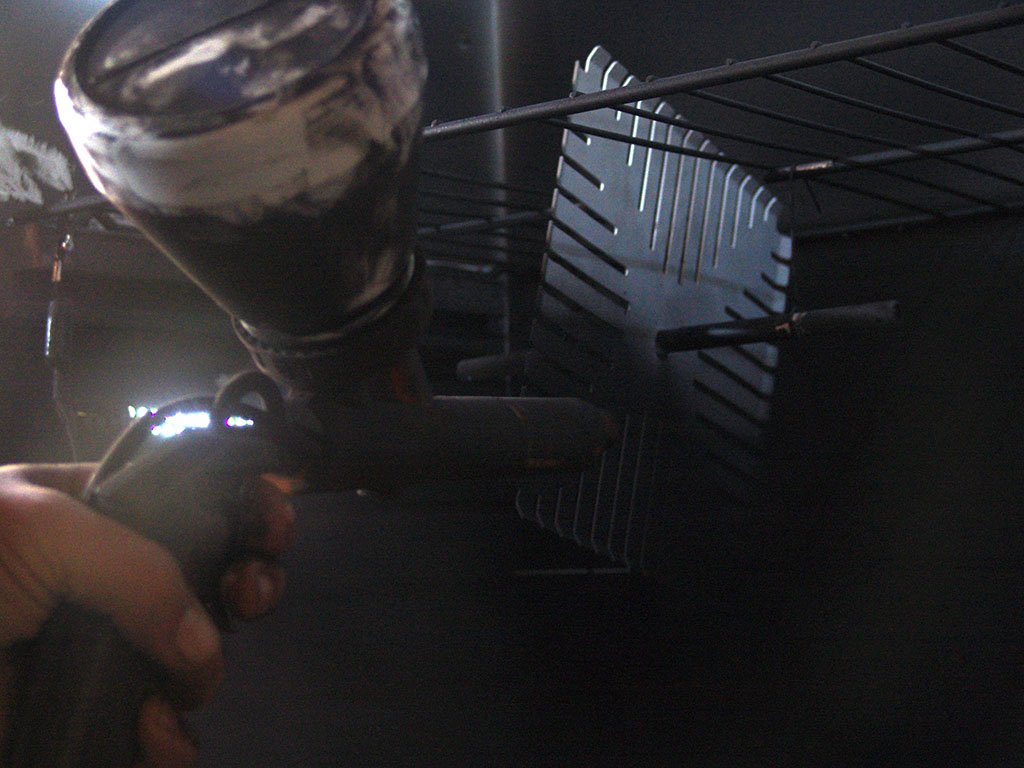
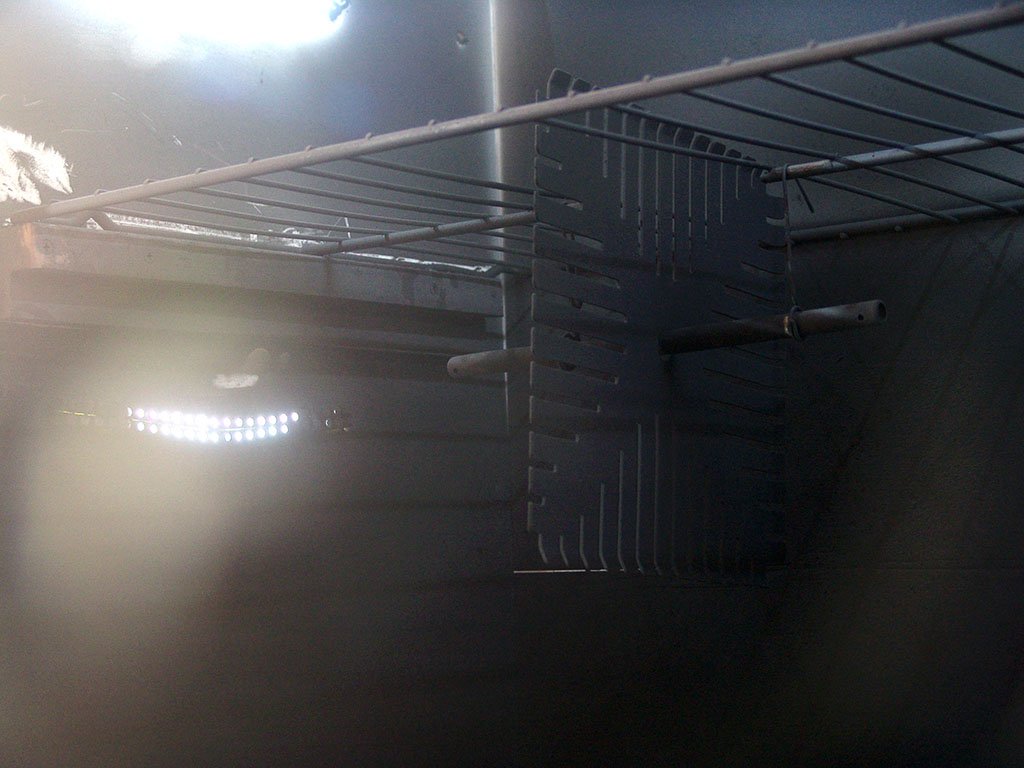
After running the holder through another round of media blasting it’s off to powder coating. I modified a standard oven rack so I could fit this into a standard oven and it also allows me to rotate the part so I can evenly apply the powder. Bake at 400 degrees for 10 minutes.
I then do a final QC check and package them up for shipping.
This design is public domain, so if you would like to make or modify your own, please feel free to do so! The .PDF is located HERE.